How do I edit my job settings?
Once a monitor is created, you can edit the monitor settings such as Monitor Name, URL, Actions, Adjustments, Notifications, Schedule, and more.
Steps 1:
On your monitor dashboard, click the monitor you want to edit.
Step 2:
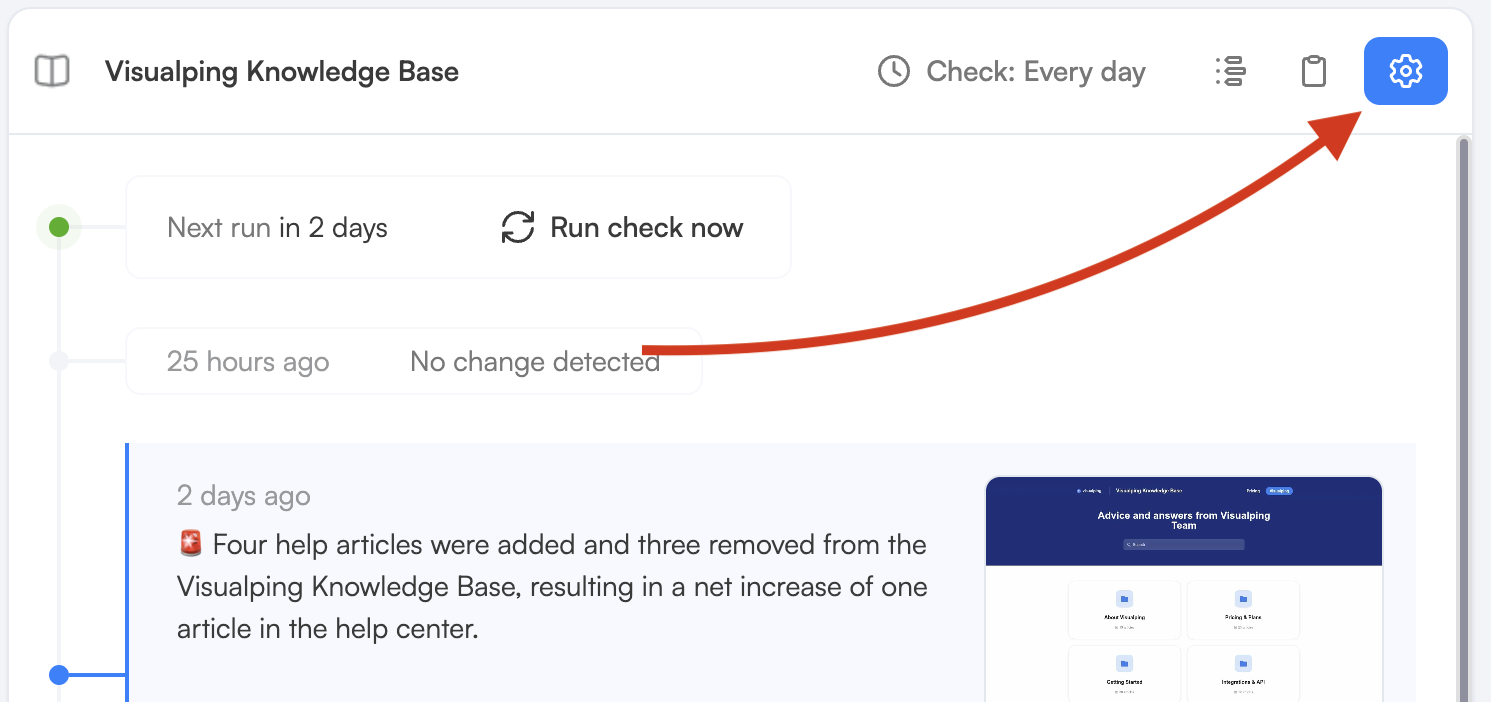
Click the gear icon at the top right of the monitor details section. This icon is only shown to users who have permission to edit the monitor. Users with read-only access will not see the gear icon, so they cannot open the settings form.
Step 3:
Edit the monitor settings in the monitor modal then click Save. You can click the Notifications and Schedule tabs as well.
Since October 21, if your account or workspace has more active monitors than its plan allows, you can only pause or delete monitors. Changes to the name, URL, frequency, notifications, labels, actions, and other settings are refused on every plan, including changes made through the API or MCP. The monitor editor, bulk editor, and settings side panels show "Your plan is over its page limit" with Save disabled. Pause or delete monitors to get back within the limit, or upgrade your plan, to edit settings again.
Note: Before saving, check the preview area for any warnings. If a pre-action fails or the target website returns an error, a warning will appear in the preview. Resolving these warnings before saving helps avoid misconfigured monitors.
If the changes are made to the Actions and Adjustments, the monitor will initiate a new initial check to apply the changes without sending an alert after saving.