
How do I use actions?
Contents of this Article:
What are actions used for?
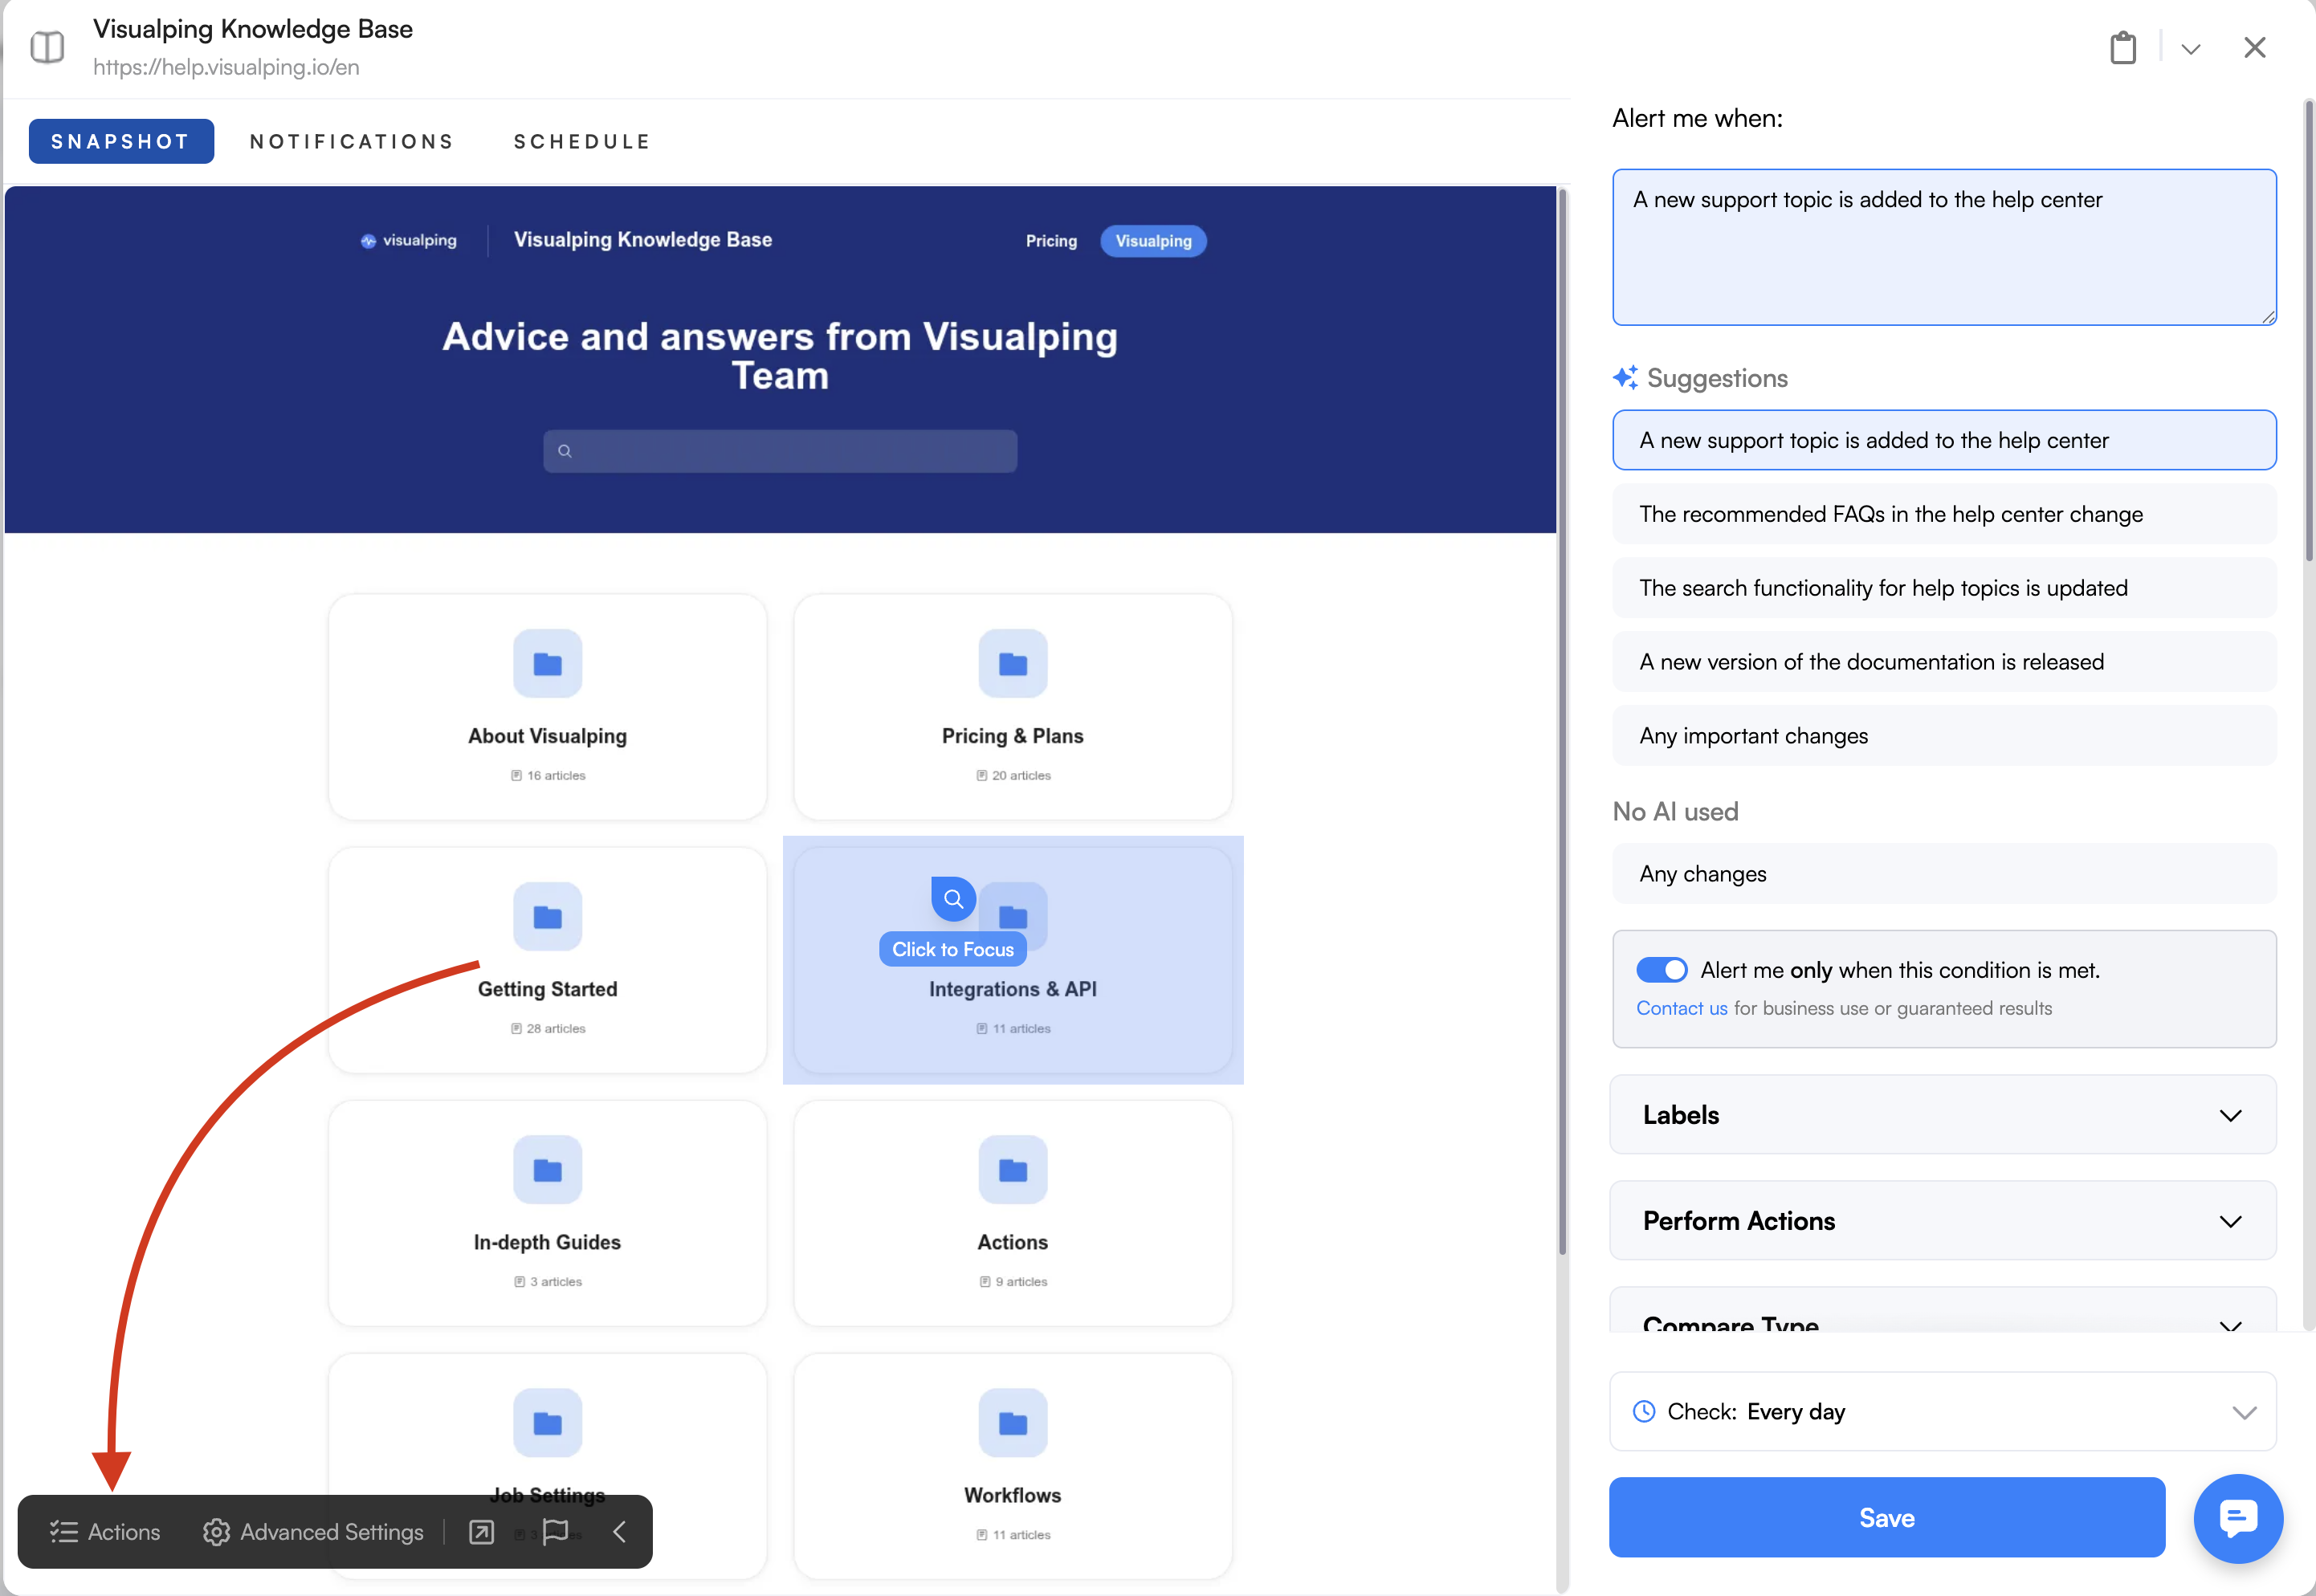
With Visualping's actions tools, you can fill in a form, close a pop-up, remove ads, enter login details, scroll down a page, and even pass in cookie information.
Using the Action Tools
Step 1:
Add a new action
Expand the actions menu. Click + Add actions to add more actions and perform these in sequence. Once actions are added, you can use the Braille Icon ( 6 Dots ) to drag them into a different sequence.
Step 2:
Choose an Action
Choose from 9 different actions that can navigate the webpage you are trying to monitor. You can mimic various human-computer interactions from clicking to typing.
might want to add links in the graph for the associated articles if there exists one
Type | Description |
Click | Mimics a click behaviour on an element. |
Mimics a keyboard behaviour on an input element. | |
Mimics dropdown menu selections. | |
Removes an element from the page. | |
Waits for a number of seconds to allow for the page to load. | |
Used when an element loads another HTML page within an element. | |
Passes existing data to a webpage. | |
Refresh | Refreshes the page. |
Scroll to the bottom of the page to trigger elements to load. | |
Navigates to the URL provided. | |
Injects a Javascript to the page. Used for lots of cases like: making hrefs/links visible on the page, expanding tabs, etc. |
Step 3:
Using the Selector Tool
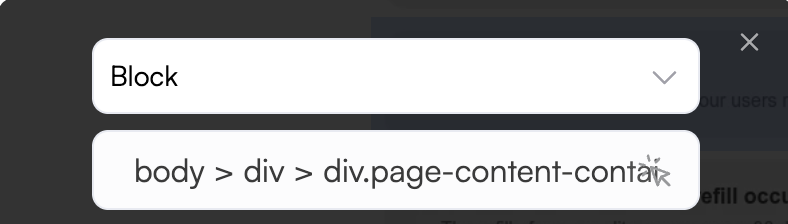
Use the selector tool to choose the element you want to click, type, block or select by clicking on the cursor icon on the left of the text box under the action type.
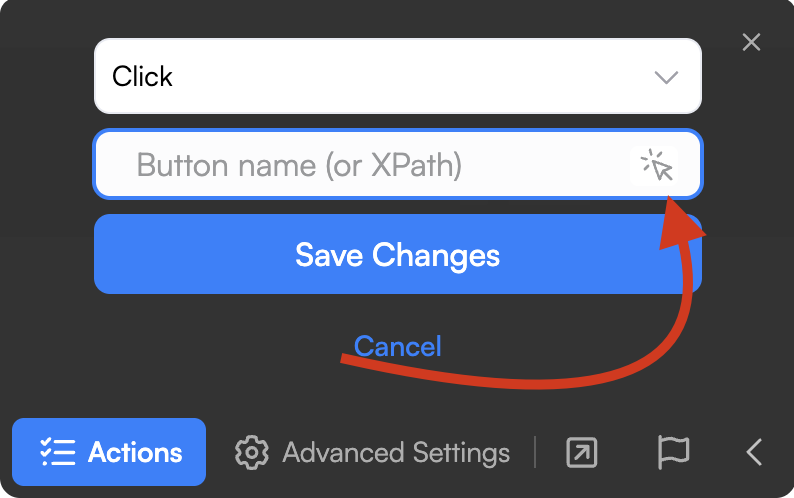
Once the selector is activated, you will need to click on the element on the page. The action is executed immediately upon clicking on the element by reloading the page.
The element's XPath is then recorded in the appropriate field. If you have difficulties selecting the correct element or the action, please refer to how to troubleshoot.
Some actions are more complicated, so check out our separate articles if you want to use Go to, Script, iFrame, Select or Cookie actions.
Step 4:
Make sure to add wait actions after using other actions
Use Wait after actions like 'Click' or 'Go to' to give the page time to update before the next action.

Troubleshooting tips
For more accuracy, you might need to use/paste a specific identifier which can be obtained by inspecting the element. The way to acquire and paste the element's identifier are shown in the table below. Be aware that actions will only apply to the first match it finds if multiple elements have the same identifier, the only exception being block which can affect multiple elements at a time.
full or relative xPath | Can be copied by right-clicking on the code of the element while inspecting (see below). |
xPath expression | You can give a code excerpt to your favorite AI and ask for an xPath expression. It finds the element based on a name or attribute and looks something like //button[.//*[normalize-space(text())='Show more']] |
CSS selector | Can be copied by right-clicking on the code of the element while inspecting (see below). |
HTML tag | The tag of the element in the code found at the beginning of the code of an element, like div, button or ul. Needs to be put after // in visualping, like //div. |
ID | Some elements have an ID that can be found in the code. Needs to be put after # in visualping, like #making_a_new_job. |
Class | Most elements have a class name that can be found in the code. Needs to be put after . in visualping, like .page-header. |
Custom Attribute | Most elements will also have other attributes, which you can find in the code. Needs to be surrounded by [] in visualping, like [data-link="contents_of_this_article"] |
Step 1:
Inspect the element
In a Chrome browser, right-click on the web element you what to perform the action on and then select Inspect from the menu. The page's code will appear on a panel. The correct part of the code should be open, but it is possible, for example, that you clicked on the text inside a button instead of the button. To check that you have the correct code section selected, hover over it and check that the correct element is highlighted.
Step 2:
Copy the Selector or XPath
The easiest identifier to get for an element is its selector or xPath. To get an element's selector or xPath, right-click on the code of the element and select Copy selector or XPath.
Step 3:
Paste the Selector or XPath back into Visualping
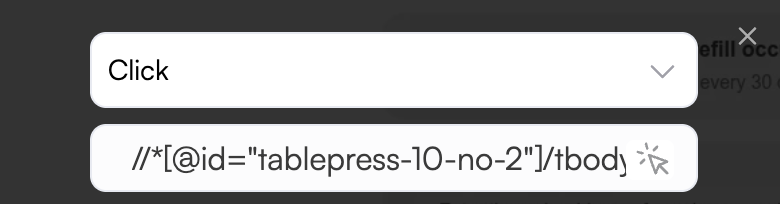
Finally, paste that value back into the textbox under the action you are executing in Visualping. Below is an example of what the selector and Xpath look like.
Frequently Asked Questions
My action is not working — what should I try?
Start by switching from the selector tool to a manually entered identifier. Right-click the element in your browser, choose Inspect, then copy its selector or XPath and paste it into the action field. If that still fails, try a different identifier type (ID, class, XPath expression) as some elements respond better to one over another. Adding a Wait action before or after can also help when the page is slow to update.
Can I run actions in a specific order?
Yes. Actions execute in the sequence they are listed. Use the Braille icon (6 dots) to drag and reorder them. A common pattern is: Click → Wait → next action, to give the page time to react before the next step runs.
How many actions can I add?
There is no fixed limit on the number of actions per monitor, but keep in mind that each action adds to the time it takes to check the page. Very long action sequences may time out on slower pages.
The selector tool clicks the wrong element — how do I fix it?
This usually happens when elements overlap or share similar attributes. Inspect the element in your browser to get a unique identifier (id, full XPath, or CSS selector) and paste it directly into the action field rather than using the selector tool.
Do actions apply to every check, or just the first one?
Actions run on every check. Each time Visualping visits the page, it replays the full action sequence before taking a screenshot.
Can actions be used to log in to a page?
Yes. You can chain Type actions to fill in a username and password field, followed by a Click action on the login button. Alternatively, the Cookie action can pass session cookies directly, which is useful for pages with two-factor authentication. See our guide on monitoring password-protected pages for full steps.
Still having issues?
If none of the above resolves your problem, reach out to our Support team. Include the page URL, the action type you're using, and what you expected to happen so we can help faster.